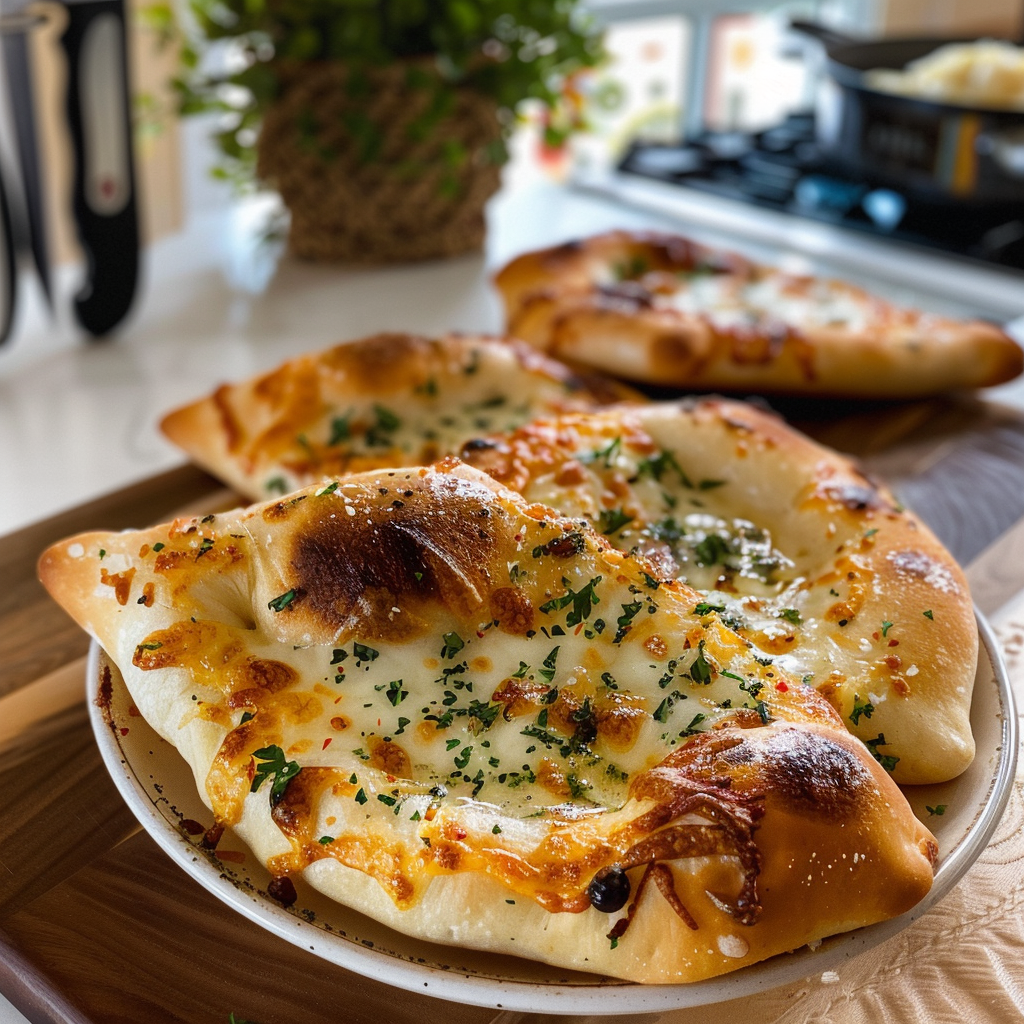
There’s something magical about the aroma of freshly baked Cheese Fatayer wafting through the kitchen, isn’t there? Picture this: golden-brown pastry shells that are flaky and tender, giving way to a warm, gooey center packed with cheese and herbs. Crispy Greek fries The moment you take a bite, the flavors dance on your palate, making you feel like you’ve just been transported to a bustling Middle Eastern market.
Now imagine sharing this delightful dish with friends or family during a cozy gathering. Picture their faces lighting up as they take that first mouthful, smiles spreading wide as they savor each delicious bite. Crab stuffed biscuits Cheese Fatayer isn’t just food; it’s a delightful experience that brings people together, making every occasion special.
Why You'll Love This Recipe
- These Cheese Fatayer are incredibly easy to make and perfect for any occasion
- The flavor is rich and savory, tantalizing your taste buds with every bite
- Their golden crust adds an appealing touch to your table
- You can serve them as appetizers or snacks, making them versatile for gatherings or cozy nights in
I still remember the first time I made Cheese Fatayer for my friends; we devoured them within minutes and laughed over how many we could eat in one sitting. For more inspiration, check out this Philly steak cheese skillet recipe.

Essential Ingredients
Here’s what you’ll need to make this delicious dish:
- All-Purpose Flour: Use high-quality flour for a flaky pastry that holds its shape well when baking.
- Warm Water: Ensure the water is warm but not hot to help activate the yeast properly.
- Instant Yeast: This type of yeast works quickly, giving you soft and fluffy dough without much waiting.
- Salt: A pinch of salt enhances the dough’s flavor, balancing the richness of the cheese filling.
- Olive Oil: Adds moisture to the dough and a subtle flavor that complements the cheese filling beautifully.
For the Filling:
- Feta Cheese: Crumbled feta provides a tangy flavor that pairs perfectly with other cheeses.
- Mozzarella Cheese: Use shredded mozzarella for its meltiness; it brings that gooey texture we all love.
- Fresh Parsley or Spinach: Chopped finely, these add freshness and color to your filling.
- Pine Nuts (optional): Toasted pine nuts add texture and a subtle nutty flavor; they’re not mandatory but highly recommended!
The full ingredients list, including measurements, is provided in the recipe card directly below.
Let’s Make it Together
Dough Preparation: Start by combining warm water with instant yeast in a bowl. Let it sit for about five minutes until bubbly; this means it’s alive and ready!
Next, mix in all-purpose flour, olive oil, and salt until a dough forms. Knead on a floured surface for about 10 minutes until smooth and elastic. Your arms might get tired, but think of it as an arm workout with tasty rewards!
Dough Rising Time: Place your kneaded dough in an oiled bowl, covering it with a clean kitchen towel. Let it rise in a warm place for approximately 1 hour or until doubled in size. Garlic butter tilapia This is when you’ll want to do a little happy dance because soon there will be delicious Cheese Fatayer!
Prepare the Filling: While waiting for your dough to rise, combine crumbled feta and shredded mozzarella in a mixing bowl. Stir in chopped parsley or spinach along with toasted pine nuts if you’re feeling fancy. This mixture should smell amazing already!
Shaping the Fatayer: Once risen, punch down your dough gently. Divide into small balls about the size of golf balls. Roll each ball into circles about 4-5 inches wide on a floured surface.
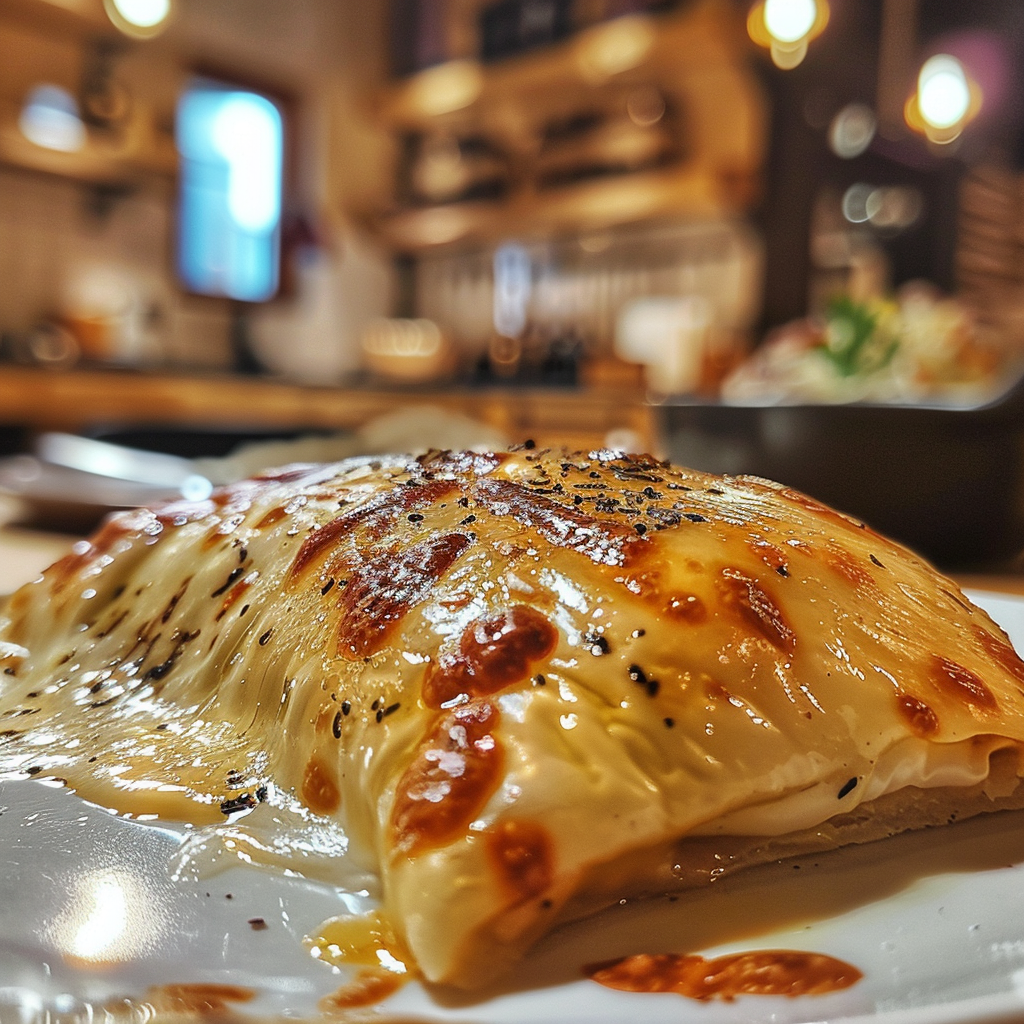
Add a spoonful of cheese filling to the center of each circle. Fold over one side to create a triangle shape; pinch edges securely so no cheesy goodness escapes during baking.
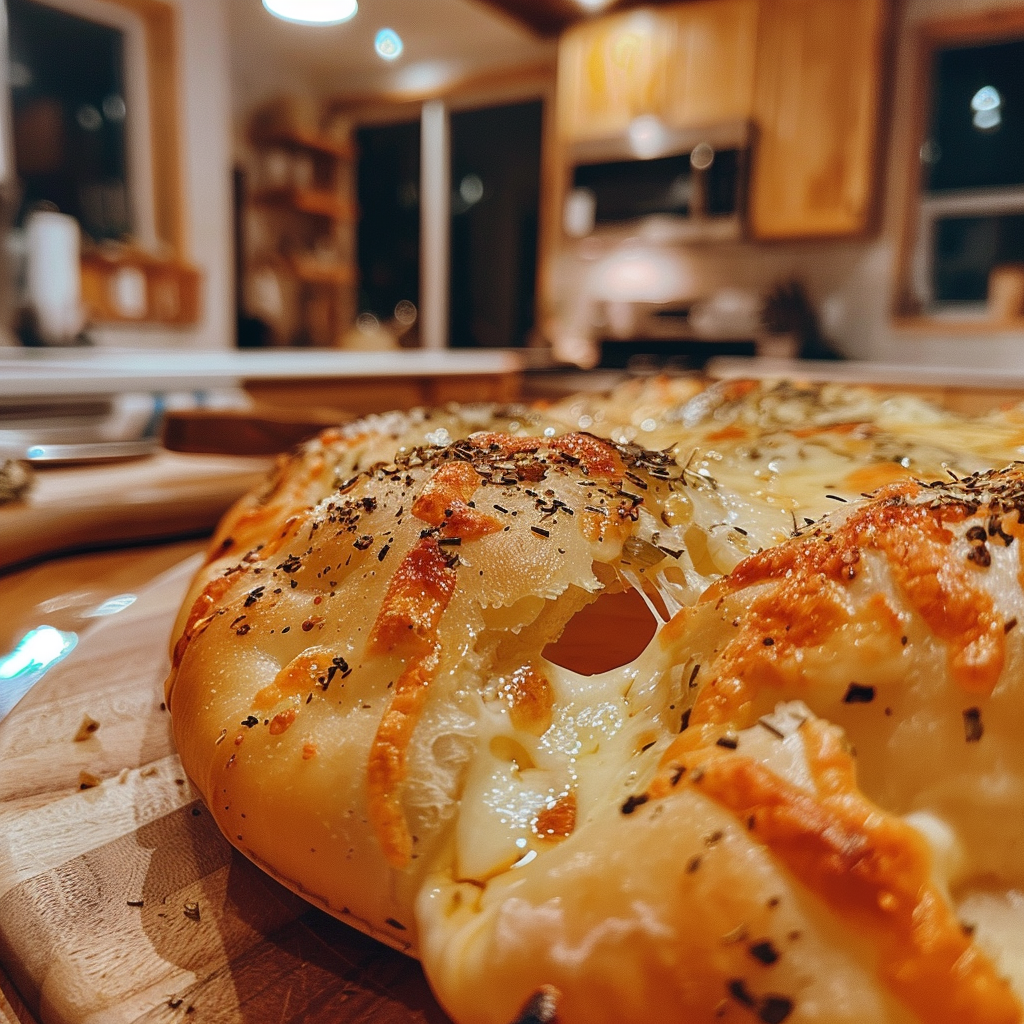
Baking Time!: Preheat your oven to 375°F (190°C). Arrange filled triangles on parchment-lined baking sheets; brush tops lightly with olive oil for that beautiful golden color! Bake for 20-25 minutes until golden brown and irresistible.
Let them cool slightly before diving in; trust me—hot cheese can be mouth-burningly dangerous yet oh-so-delicious!
With these steps complete, you now have glorious Cheese Fatayer ready to impress friends or family—or just yourself if you’re feeling indulgent! Enjoy every cheesy bite as they disappear faster than you can say “delicious.”
You Must Know
- Cheese Fatayer are delightful little pastries that bring a burst of flavor and warmth
- They’re perfect for snacking or as appetizers, and their cheesy goodness can brighten any day
- Plus, they are easy to make and always impress guests with their flaky crust
Perfecting the Cooking Process
Start by preparing the dough first, then mix the filling while it rests. This ensures a flaky crust and flavorful filling.
Add Your Touch
Feel free to experiment with different cheeses like feta or mozzarella, and add herbs for extra flavor!
Storing & Reheating
Store Cheese Fatayer in an airtight container in the fridge for up to three days. Reheat in the oven to restore crispness.
Chef's Helpful Tips
- Use a good quality cheese for rich flavor and meltiness
- Ensure your dough is not too sticky to shape easily
- Baking on parchment paper prevents sticking and makes cleanup a breeze
Creating Cheese Fatayer has been a delightful journey in my cooking adventures, bringing smiles to family gatherings with every bite. Pesto Caprese Pasta Salad.
FAQ
What is the best cheese for Cheese Fatayer?
Using a blend of feta and mozzarella gives great flavor and texture.
Can I freeze Cheese Fatayer?
Yes, they freeze well; just ensure they are fully cooled before freezing.
How do I make the dough less sticky?
Add a little flour gradually until you achieve the right consistency during mixing.