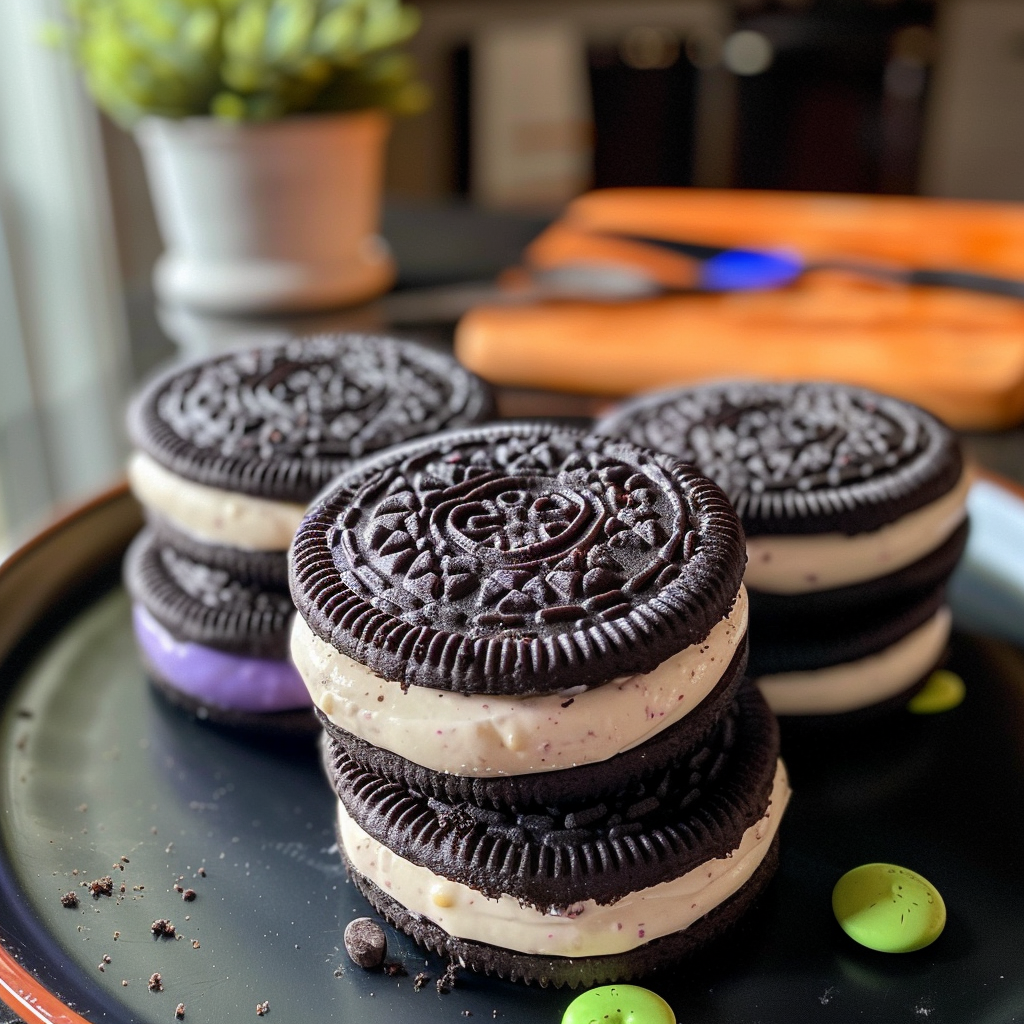
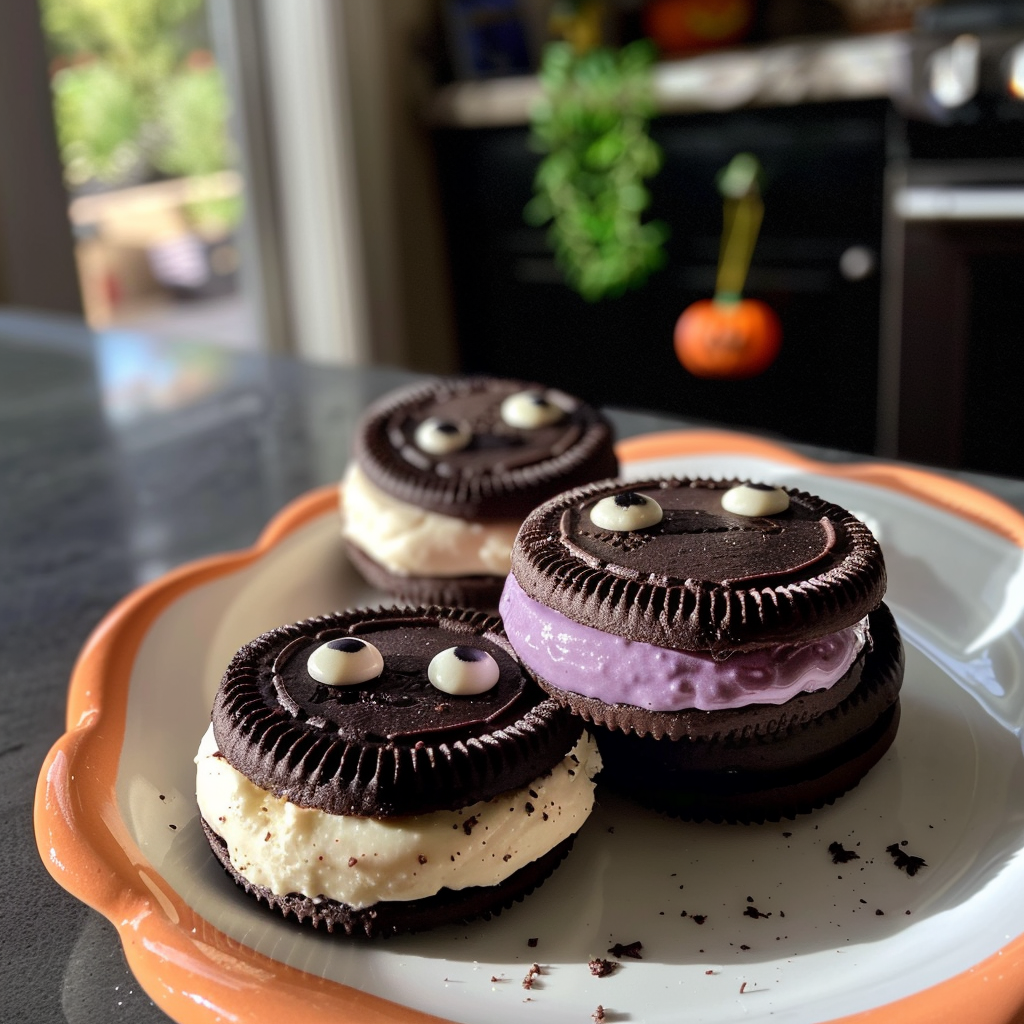
There’s something eerily delightful about Spooky Halloween Oreos, isn’t there? Imagine biting into a creamy, sweet chocolate cookie, only to find a hauntingly delicious filling that dances on your taste buds. festive Halloween dessert pairing The rich flavors blend seamlessly with the festive decorations, making them perfect for your Halloween gatherings. savory dish for Halloween gatherings.
As I recall my first attempt at making these treats, I couldn’t help but giggle at how my friends’ faces lit up when they saw my spooky creations. Halloween is not just a holiday; it’s an excuse to indulge in all things sugary and fun while showcasing your creativity. fun Halloween party appetizer Trust me; once you take a bite of these Spooky Halloween Oreos, you’ll be transported to a world of joy where every day feels like Halloween.
Why You'll Love This Recipe
- These Spooky Halloween Oreos are incredibly easy to whip up, making them perfect for last-minute treats
- The fun and festive decorations make them visually appealing and perfect for parties
- With their creamy filling and chocolatey crunch, they deliver an unforgettable flavor experience
- Plus, you can customize them to suit your ghoulish theme!
I still remember the delight on my niece’s face when she took her first bite of these ghoulish cookies during our family Halloween bash. For more inspiration, check out this lemon lavender cookies recipe.
Essential Ingredients
Here’s what you’ll need to make this delicious dish:
-
Oreos: Classic chocolate-flavored cookies are perfect for creating that spooky vibe and pairing wonderfully with any filling.
-
White Chocolate Melts: Choose high-quality melts for better flavor and smooth melting; they’re essential for decorating.
-
Food Coloring: Gel food colorings work best; they provide vibrant hues without thinning your melted chocolate.
-
Sprinkles or Edible Eyes: These add the finishing touch to your spooky designs, making your cookies pop with personality.
-
Parchment Paper: Use it to line your baking sheet; it prevents sticking and makes cleanup a breeze.
The full ingredients list, including measurements, is provided in the recipe card directly below.
Let’s Make it together
Prepare Your Workspace: Clear a clean surface in your kitchen and gather all your ingredients. Set out bowls for the melted chocolate and decorations to keep everything organized.
Melt the White Chocolate: In a microwave-safe bowl, melt white chocolate melts in 30-second intervals until smooth. Stir between each interval to avoid burning the chocolate.
Color Your Chocolate: Once melted, divide the chocolate into smaller bowls if using multiple colors. Add gel food coloring drop by drop until you achieve your desired shade.
Dunk Those Oreos: Take an Oreo and dip it halfway into the colored chocolate. Allow any excess chocolate to drip off before placing it on parchment paper.
Add Decorations: While the chocolate is still wet, sprinkle on toppings or place edible eyes for a whimsical touch. Let them cool completely until set.
With each bite of these Spooky Halloween Oreos, you’ll experience a delightful crunch followed by creamy bliss—the perfect treat for sharing or indulging yourself during this spooky season! gluten-free Halloween treat option.
You Must Know
- Spooky Halloween Oreos are more than just a treat; they’re a fun, interactive way to get creative in the kitchen
- Their vibrant colors and playful designs make them a hit at any Halloween gathering
- Plus, they’re super easy to make, ensuring stress-free spooky celebrations
Perfecting the Cooking Process
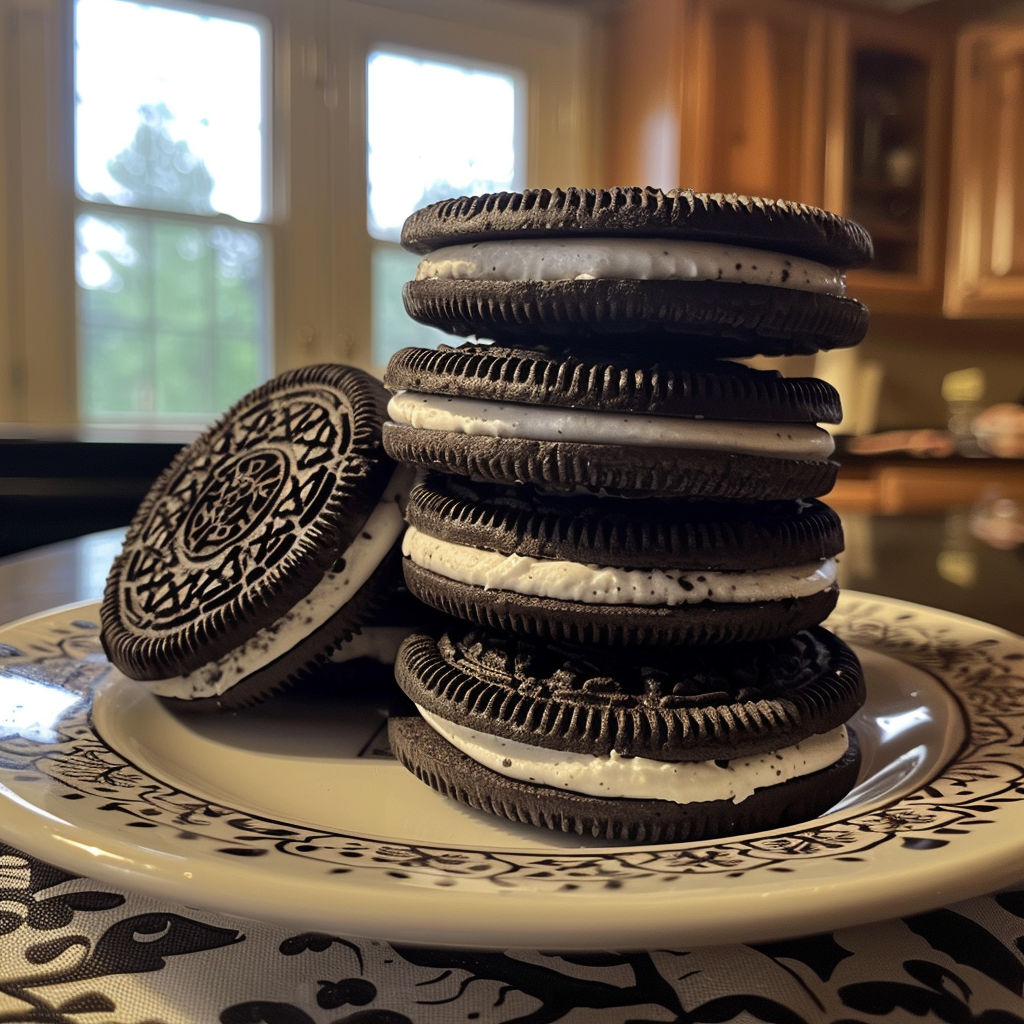
To create the perfect Spooky Halloween Oreos, start by melting your chocolate coating before dipping each cookie. This ensures an even coat and a delightful crunch. For more inspiration, check out this lemon cheesecake squares recipe.
Add Your Touch
Feel free to swap out the chocolate for colored candy melts or add sprinkles for extra flair. Customize flavors by using different Oreo varieties for unique twists.
Storing & Reheating
Store your Spooky Halloween Oreos in an airtight container at room temperature for up to a week. No reheating needed; just enjoy them as is!
Chef's Helpful Tips
- For smooth chocolate coating, ensure it’s fully melted and avoid overheating
- Use candy eyes for a fun finishing touch
- Allow cookies to cool completely before stacking to prevent sticking
The first time I made these spooky treats, my friends devoured them in minutes! We laughed about how they looked like they’d come straight from a haunted bakery.
FAQ
What kind of chocolate should I use for Spooky Halloween Oreos?
Use high-quality chocolate or candy melts for a smooth coating that hardens nicely.
How long can I store these Halloween treats?
Spooky Halloween Oreos last up to one week in an airtight container at room temperature.
Can I customize the designs on my cookies?
Absolutely! Get creative with colors, sprinkles, and edible decorations for unique looks.
Spooky Halloween Oreos
5 Stars 4 Stars 3 Stars 2 Stars 1 Star
No reviews
- Author: Hellen
- Total Time: 25 minutes
- Yield: Makes approximately 16 servings 1x
Description
Indulge in the festive spirit with these Spooky Halloween Oreos! These delightful treats combine creamy white chocolate with classic chocolate cookies, decorated to bring a playful twist to your Halloween celebrations. Perfect for parties or cozy gatherings, these easy-to-make Oreos are a fun way to showcase your creativity and delight friends and family alike.
Ingredients
- 16 Oreo cookies
- 1 cup white chocolate melts
- Gel food coloring (various colors)
- Sprinkles or edible eyes (to taste)
- Parchment paper (for lining)
Instructions
- Prepare your workspace by clearing a clean surface and gathering all ingredients.
- Melt the white chocolate melts in a microwave-safe bowl in 30-second intervals, stirring until smooth.
- Divide melted chocolate into smaller bowls if using multiple colors. Add gel food coloring drop by drop until desired shades are achieved.
- Dip each Oreo halfway into the colored chocolate, allowing excess to drip off before placing on parchment paper.
- While the chocolate is still wet, add sprinkles or edible eyes for decoration. Let cookies cool completely until set.
- Prep Time: 15 minutes
- Cook Time: 10 minutes
- Category: Dessert
- Method: No-bake
- Cuisine: American
Nutrition
- Serving Size: 1 cookie
- Calories: 100
- Sugar: 8g
- Sodium: 50mg
- Fat: 5g
- Saturated Fat: 3g
- Unsaturated Fat: 2g
- Trans Fat: 0g
- Carbohydrates: 12g
- Fiber: 0g
- Protein: 1g
- Cholesterol: 0mg

