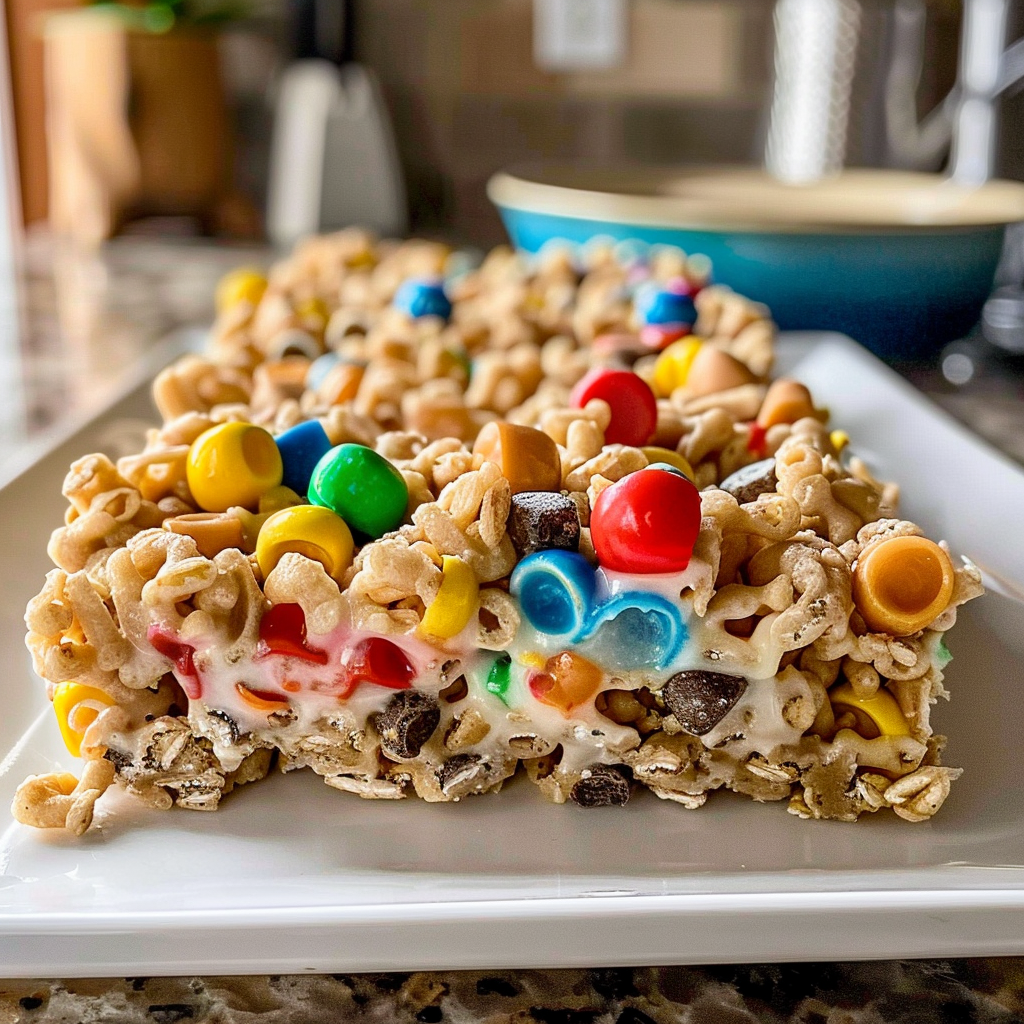
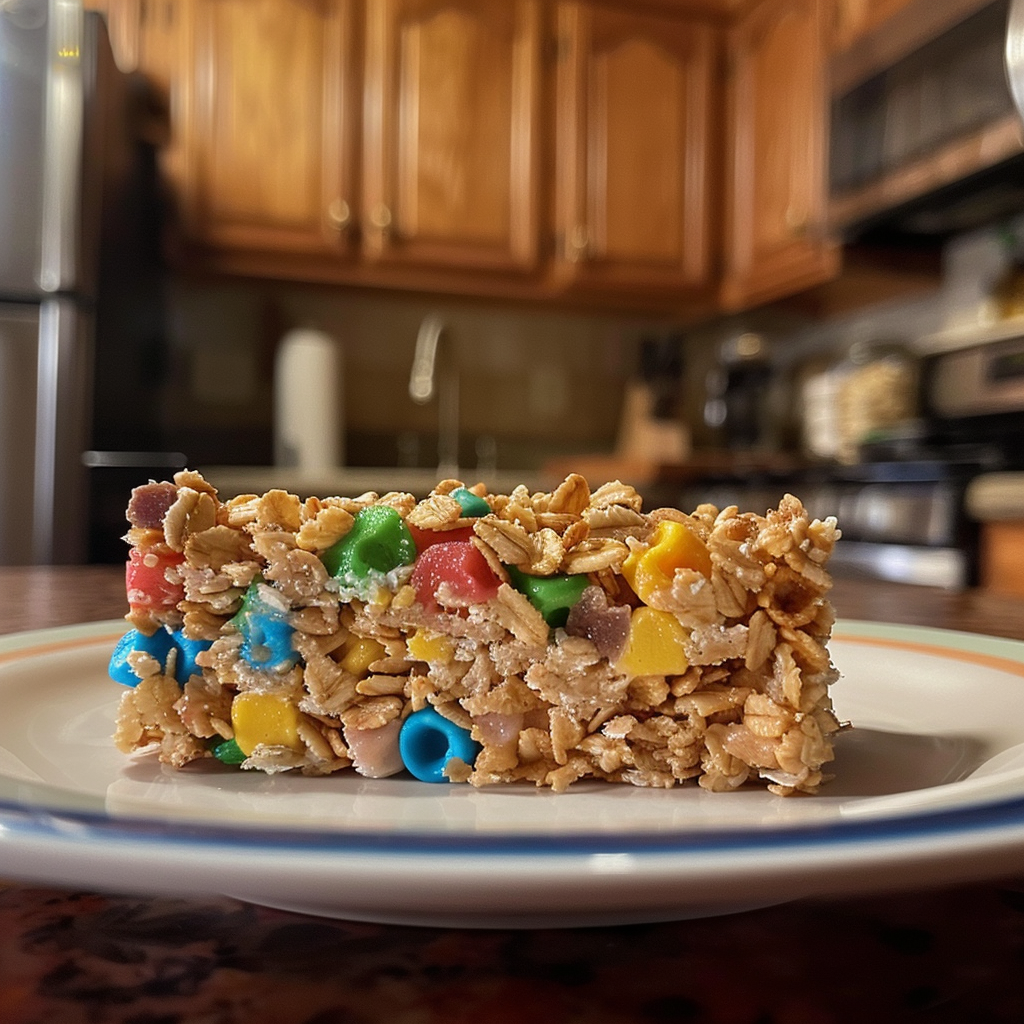
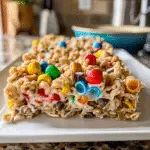
Imagine biting into a chewy, sweet, and slightly crunchy no-bake cereal bar that tastes like a party in your mouth. Each bite bursts with the delightful combination of flavors and textures, making it perfect for a quick snack or a delightful dessert. savory bacon cheddar bagels Picture this: you’re lounging on your couch, the aroma of peanut butter filling the air, and the anticipation of that first taste is almost too much to bear.
Now, let me take you back to a sunny Saturday afternoon when I decided to whip up these no-bake cereal bars for my kids. They came home from soccer practice, their faces flushed and full of energy, and I knew they needed something delicious yet nutritious. delicious frozen s’mores These bars became an instant hit! Every time I made them, they disappeared faster than I could say “snack time,” sparking laughter and joy around our kitchen table.
Why You'll Love This Recipe
- The ease of preparation makes these no-bake cereal bars an ideal choice for busy days or last-minute snacks
- Their flavor profile is perfectly balanced between sweet and nutty
- Visually appealing, they can be customized with colorful add-ins like dried fruit or chocolate chips
- These bars are versatile enough to serve as breakfast or a midday pick-me-up
One memorable occasion was when my daughter proudly shared her homemade bars with friends at school; their delighted reactions warmed my heart!

Essential Ingredients
Here’s what you’ll need to make this delicious dish:
-
Oats: Rolled oats offer great texture and are filling; look for gluten-free options if necessary.
-
Peanut Butter: Creamy or crunchy will do; just make sure it’s a good quality to enhance flavor.
-
Honey or Maple Syrup: Natural sweeteners add sweetness while helping bind the mixture together.
-
Cereal: Choose your favorite type—cheerios or rice crispies work wonderfully for crunch!
-
Dried Fruit or Chocolate Chips: These add extra flavor and visual appeal; feel free to mix it up!
The full ingredients list, including measurements, is provided in the recipe card directly below. refreshing lemonade recipe. apple pumpkin muffins.
Let’s Make it Together
Gather Your Tools
Gather all your ingredients and tools before starting. You’ll need a mixing bowl, spatula, baking pan, and parchment paper for easy cleanup.
Mix the Ingredients
In a large mixing bowl, combine oats, peanut butter, honey (or maple syrup), and your choice of cereal. Stir until everything is well mixed and sticky; it should smell heavenly.
Add Flavor Boosters
Fold in any extras like dried fruit or chocolate chips. This step allows you to personalize your no-bake cereal bars with flavors you love.
Press into Pan
Line your baking pan with parchment paper for easy removal later. Pour in the mixture and press down firmly using the back of a spatula to create an even layer.
Chill Until Firm
Place the pan in the refrigerator for about 1-2 hours until set. This chilling time helps solidify those delicious flavors into one fantastic bar.
Cut and Serve
Once firm, remove from the pan using parchment paper edges. Use a sharp knife to cut into squares or rectangles; enjoy them fresh or pack them away for later! For more inspiration, check out this Lemon Cheesecake Squares recipe recipe.
Now that we’ve gone through this scrumptious adventure together, it’s time for you to enjoy these no-bake cereal bars! They not only satisfy cravings but also provide energy needed for those busy days ahead. Happy snacking!
You Must Know
- No-bake cereal bars are a quick, delicious snack perfect for busy days
- They are customizable based on your preferences and can pack a nutritional punch
- These bars offer delightful textures and flavors, making them an ideal choice for both kids and adults
Perfecting the Cooking Process
Start by mixing dry ingredients first, then combine with melted ingredients for an even blend. This ensures every bite is packed with flavor.
Add Your Touch
Feel free to swap in your favorite nut butter or add dried fruits and seeds. Personalizing these bars makes them uniquely yours!
Storing & Reheating
Store your no-bake cereal bars in an airtight container at room temperature for up to a week. Refrigerate for longer freshness without losing texture.
Chef's Helpful Tips
- To achieve the best results, ensure your mixture is well combined before pressing it into the pan
- Use parchment paper to easily lift the bars after chilling
- Experiment with different cereals to discover new textures and flavors that you love!
It’s funny how the simplest recipes often become family favorites. I once made these bars for a potluck, and they disappeared faster than my attempts at adulting—my friends were asking for the recipe before I could even grab a piece!

FAQ
Can I use different cereals for no-bake cereal bars?
Absolutely! Swap cereals based on your taste or what you have at home.
How long do no-bake cereal bars last?
These tasty treats can last up to one week stored properly. For more inspiration, check out this Lemon Lavender Cookies recipe.
Are no-bake cereal bars healthy?
They can be healthy, depending on the ingredients used; opt for whole grains and natural sweeteners.
No-Bake Cereal Bars
- Total Time: 10 minutes
- Yield: Approximately 12 bars 1x
Description
Indulge in these homemade no-bake cereal bars that combine chewy oats, creamy peanut butter, and the sweetness of honey for a delicious snack or dessert. Perfect for busy days, these bars are customizable with your favorite add-ins like dried fruit or chocolate chips, making each bite a delightful experience. Whip up a batch for a quick energy boost or to satisfy those sweet cravings!
Ingredients
- 2 cups rolled oats
- 1 cup creamy peanut butter
- 1/2 cup honey or maple syrup
- 1 cup cereal (like Cheerios or Rice Crispies)
- 1/2 cup chocolate chips or dried fruit
Instructions
- In a large mixing bowl, combine rolled oats, peanut butter, honey (or maple syrup), and cereal.
- Stir until the mixture is sticky and well combined.
- Fold in chocolate chips or dried fruit for extra flavor.
- Line a baking pan with parchment paper and pour in the mixture, pressing it down firmly with a spatula.
- Chill in the refrigerator for 1-2 hours until set.
- Cut into bars and enjoy fresh or store for later!
- Prep Time: 10 minutes
- Cook Time: 0 minutes
- Category: Snack
- Method: No-bake
- Cuisine: American
Nutrition
- Serving Size: 1 serving
- Calories: 180
- Sugar: 9g
- Sodium: 60mg
- Fat: 8g
- Saturated Fat: 1.5g
- Unsaturated Fat: 6g
- Trans Fat: 0g
- Carbohydrates: 24g
- Fiber: 3g
- Protein: 5g
- Cholesterol: 0mg