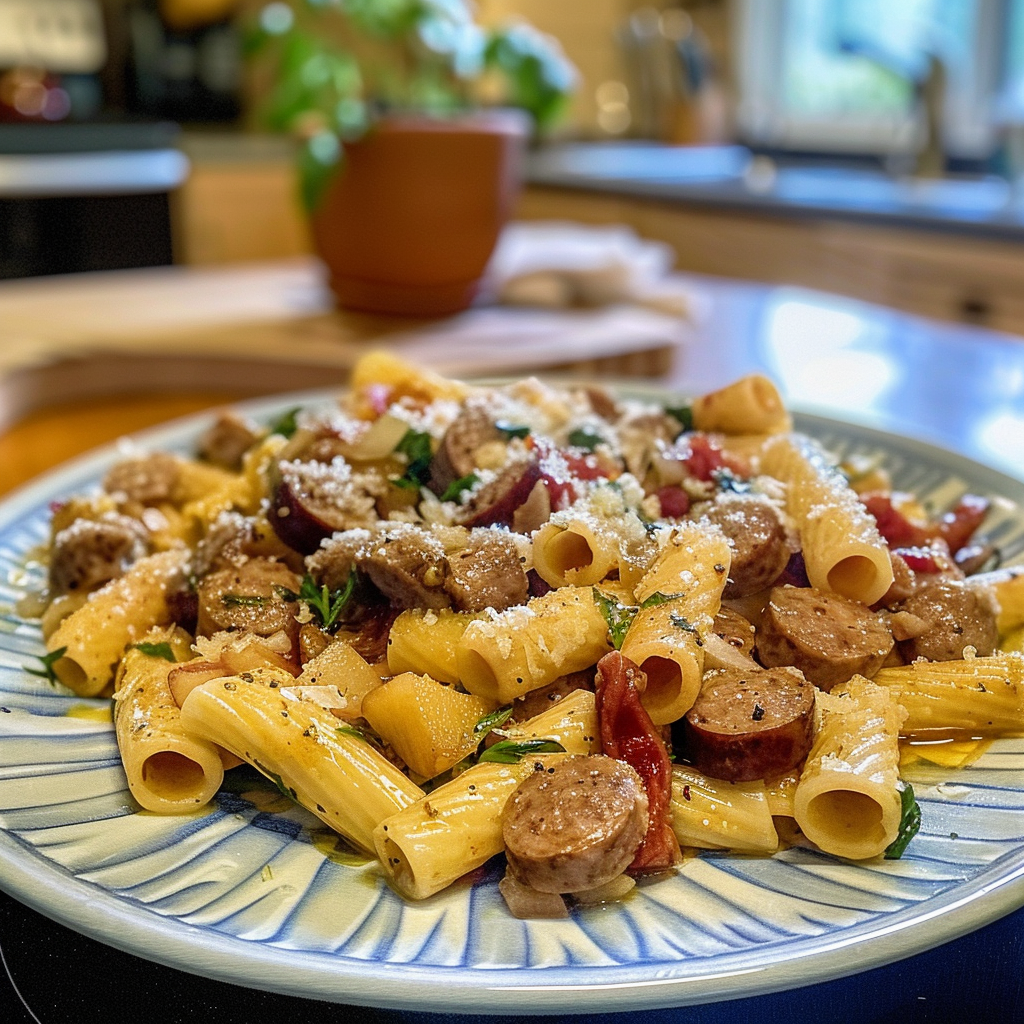
Introduction
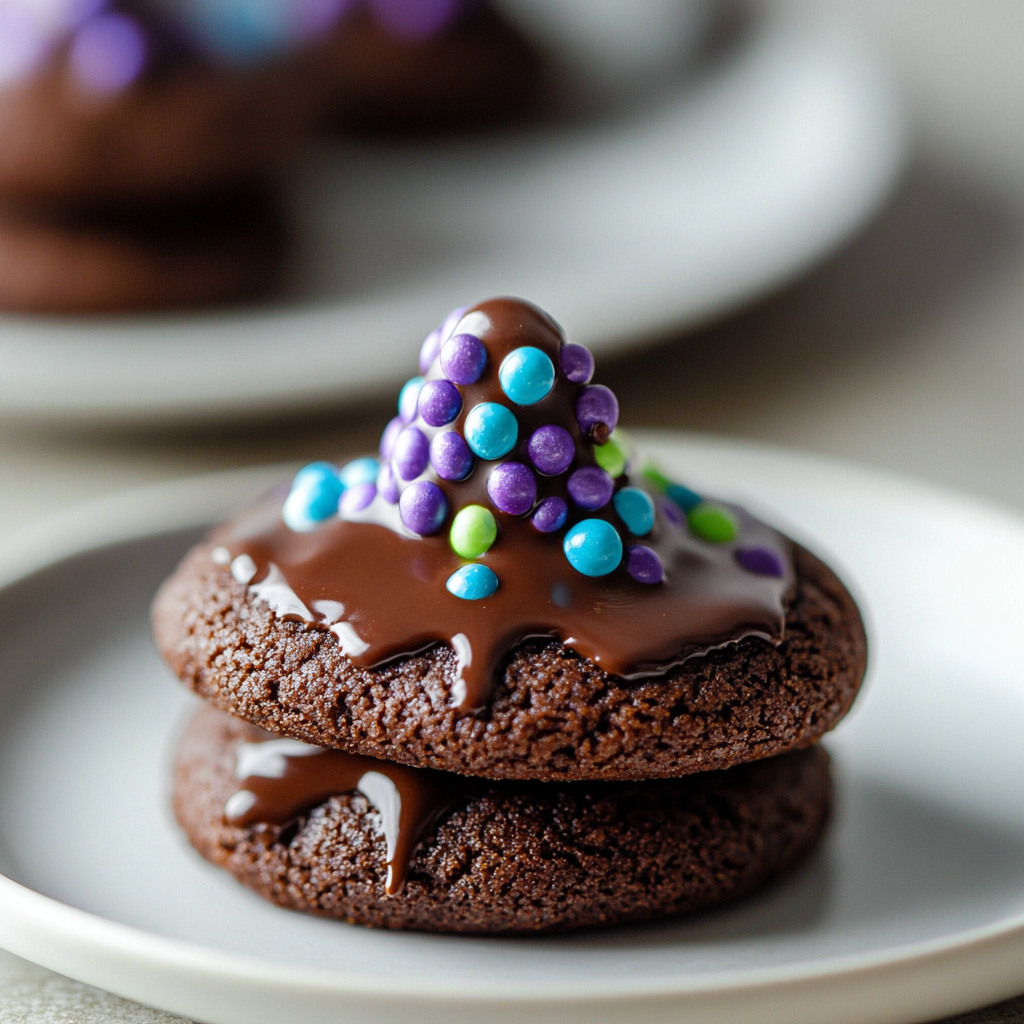
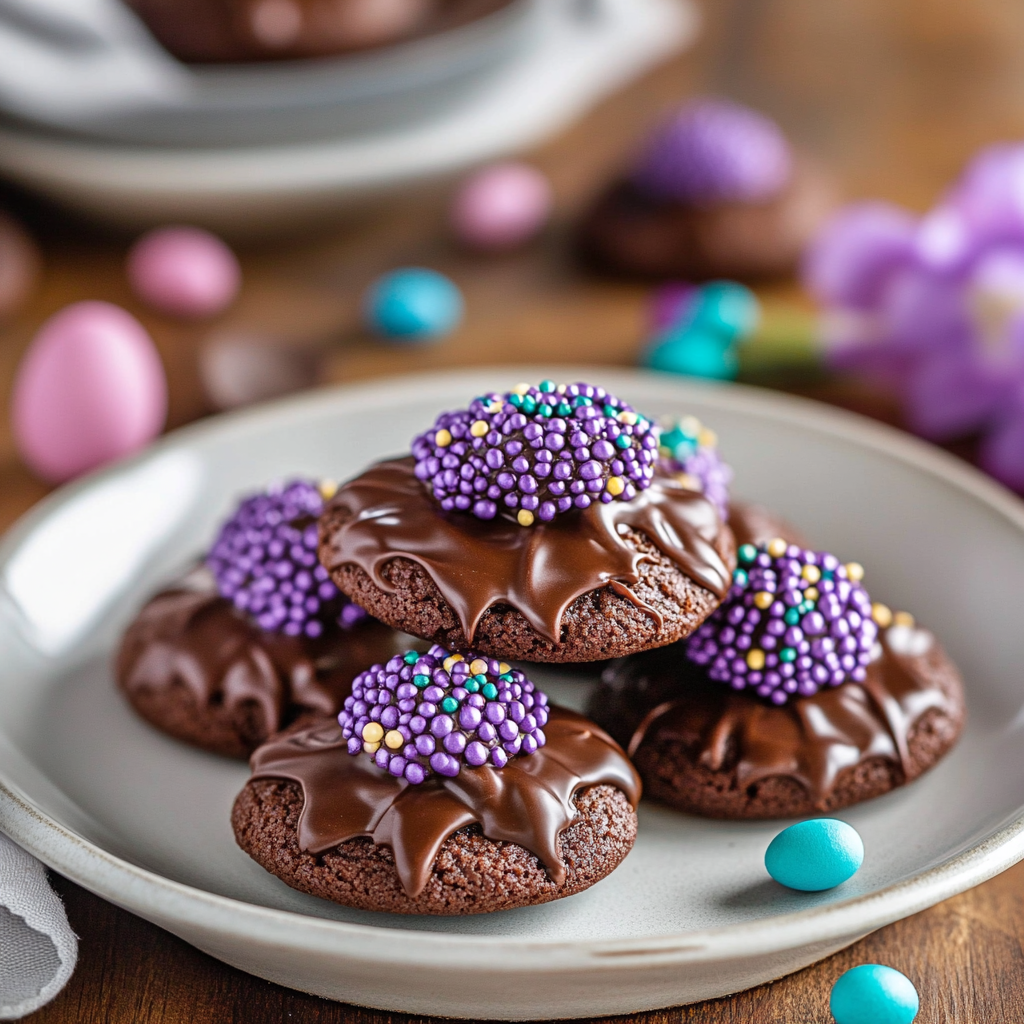
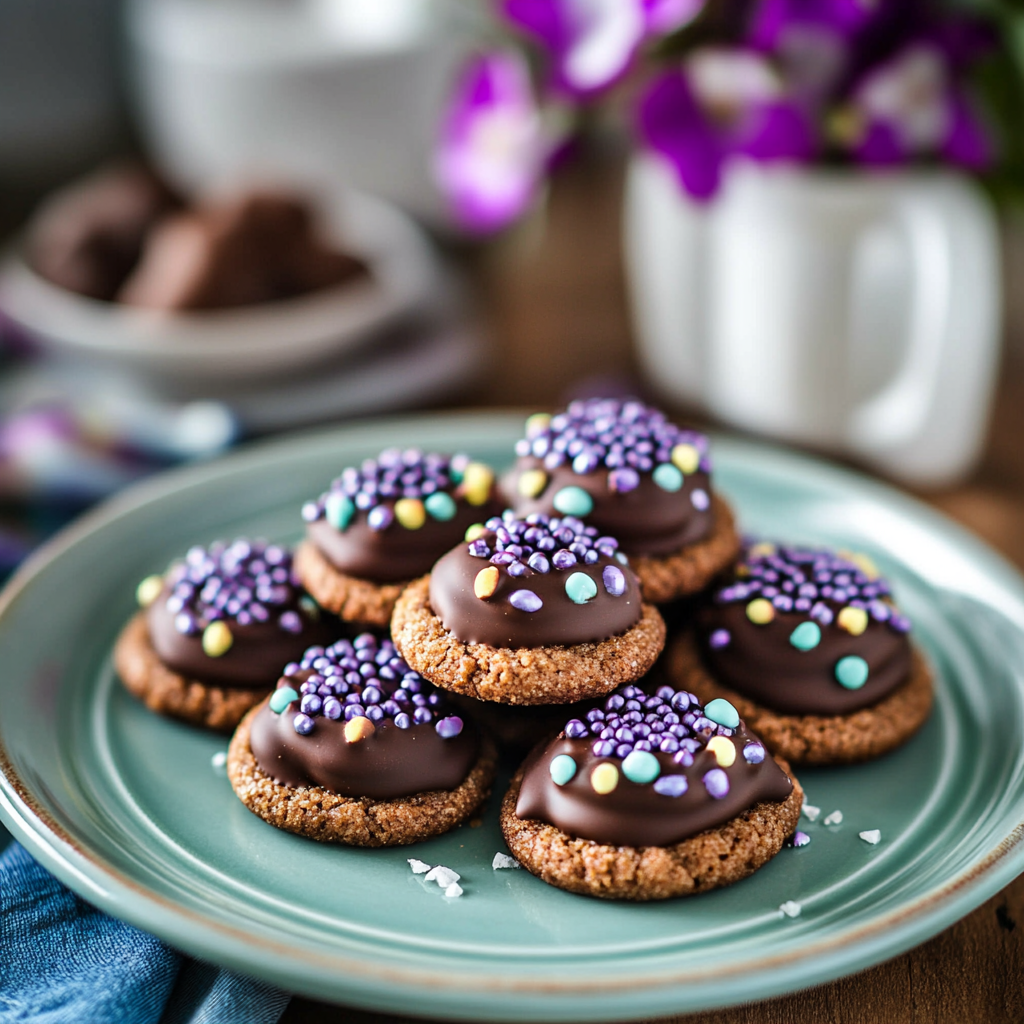
Have you ever bitten into a cookie that melts in your mouth while bursting with rich chocolate flavor? These Easter Chocolate Blossom Cookies are just that soft, chewy, and topped with a delightful burst of chocolate. Picture yourself enjoying them alongside friends and family during festive gatherings or as a sweet treat for the kids’ Easter egg hunts.
Baking these cookies is not just about satisfying your sweet tooth; it’s about creating joyful memories. The aroma of freshly baked cookies wafting through your kitchen can bring smiles to everyone around. With vibrant colors and delicious flavors, these cookies are made for celebrating the joy of the Easter season. Get ready to indulge in a delightful baking adventure!
Why You’ll Love This Easter Chocolate Blossom Cookies
Deliciously Rich Flavor: Each bite of these cookies delivers a heavenly combination of chocolate and sweetness, making them irresistible to both kids and adults alike. The rich cocoa powder combined with the sweetness of sugar creates an unforgettable taste experience.
Fun for Everyone: Baking these cookies is not just about the end result; it’s an enjoyable activity for all ages. Invite kids to help decorate or shape the dough, turning baking into a fun family tradition.
Perfect for Gatherings: Whether it’s an Easter brunch or a spring gathering, these cookies are sure to impress your guests. Their beautiful presentation and delightful flavor make them a standout dessert at any event.
Simple Ingredients: You don’t need fancy ingredients to whip up these delicious cookies. Most items are pantry staples, making it easy to get started whenever you want to satisfy your sweet cravings.
Ingredients
Here’s what you’ll need to make this delicious dish:
- All-Purpose Flour: This forms the base of your cookie dough and provides structure. Ensure it’s sifted for fluffy results.
- Cocoa Powder: Use unsweetened cocoa powder for rich chocolate flavor without added sugars.
- Baking Soda: This ingredient helps the cookies rise and achieve that soft texture we all love.
- Salt: A pinch enhances all flavors and balances the sweetness in the cookies.
- Granulated Sugar: This provides sweetness and helps create a crispy exterior on each cookie.
- Brown Sugar: Adding brown sugar introduces moisture and gives the cookies their chewy texture.
- Unsalted Butter: Make sure your butter is softened; it helps blend well with sugars for a creamy consistency.
- Eggs: Eggs bind the ingredients together and add moisture, contributing to the overall texture.
- Vanilla Extract: Pure vanilla extract adds depth of flavor, enhancing the overall taste profile of your cookies.
- Chocolate Kisses: These iconic chocolates serve as delightful tops on each cookie; choose milk or dark depending on preference.
The full ingredients list, including measurements, is provided in the recipe card directly below.
How to Make Easter Chocolate Blossom Cookies
Follow these simple steps to prepare this delicious dish:
Preheat Your Oven: Start by preheating your oven to 350°F (175°C). Line two baking sheets with parchment paper to prevent sticking.
Mix Dry Ingredients: In a medium bowl, whisk together flour, cocoa powder, baking soda, and salt until well combined. Set aside while you prepare the wet ingredients.
Cream Butter and Sugars: In a large mixing bowl, cream together softened unsalted butter, granulated sugar, brown sugar, and vanilla extract until light and fluffy using an electric mixer.
Add Eggs: Beat in eggs one at a time into the creamed mixture until fully incorporated. The mixture should be smooth and creamy at this point.
Add Dry Ingredients Gradually: Slowly add in the dry mixture from earlier until just combined. Be careful not to overmix; you want a soft dough consistency.
Scoop Dough onto Baking Sheet: Using a tablespoon or cookie scoop, drop rounded balls of dough onto prepared baking sheets about two inches apart. Bake for about nine minutes until puffy but still soft in the center.
Add Chocolate Kisses: Immediately after removing from oven, gently press one chocolate kiss into each cookie center while they’re still warm. Let cool on trays before transferring them to wire racks.
Transfer to plates for serving and enjoy these delightful treats!
Tips and Tricks
Here are some helpful tips to ensure the best results for your dish:
Use Room Temperature Ingredients: Make sure your eggs and butter are at room temperature before starting. This helps create a smoother batter that combines well.
Avoid Overmixing Dough: When adding dry ingredients to wet ones, mix until just combined. Overmixing can lead to tough cookies instead of soft ones.
Bake One Sheet at a Time: For even baking results, bake only one sheet in the center rack of your oven at any given time rather than stacking multiple sheets.
Let Cookies Cool Completely Before Storing: Allowing your cookies to cool completely prevents moisture buildup inside containers which can lead them becoming soggy over time.
Add Sprinkles for Festivity!: If desired, sprinkle colorful sprinkles on top right after placing chocolate kisses; this adds color appeal perfect for special occasions like Easter!
Mistakes to avoid
Using Too Much Flour
One common mistake when baking Easter Chocolate Blossom Cookies is using too much flour. This can lead to dry and crumbly cookies instead of the soft and chewy texture you desire. Always measure your flour correctly by spooning it into the measuring cup and leveling it off with a knife. Avoid packing the flour down, as this can add extra quantity, making your dough too dense. For best results, use a kitchen scale for precise measurements that ensure your cookies turn out perfect every time.
Overbaking the Cookies
Overbaking is another frequent error that can ruin your Easter Chocolate Blossom Cookies. It’s essential to keep an eye on the baking time; typically, these cookies only need 8 to 10 minutes in a preheated oven at 350°F (175°C). When the edges are set but the centers look slightly underbaked, it’s time to take them out. Remember, they will continue to cook on the baking sheet after removing them from the oven. This technique helps retain that delightful chewy texture.
Skipping Chilling Time
Chilling the cookie dough is crucial for achieving the right texture in your Easter Chocolate Blossom Cookies. If you skip this step, you may end up with cookies that spread too much while baking, resulting in flat and uneven shapes. Aim to chill your dough for at least 30 minutes before scooping and baking. This allows the butter to solidify, helping maintain their shape during cooking. Proper chilling enhances both flavor and structure for a better final product.
Not Using Fresh Ingredients
Using stale ingredients can significantly impact the taste of your Easter Chocolate Blossom Cookies. Always check expiration dates on your baking powder, chocolate, and other ingredients before starting your recipe. Fresh ingredients yield better flavor, ensuring your cookies are delicious and enjoyable. For example, use high-quality chocolate for melting and topping; this enhances both taste and texture. Don’t compromise by using old or expired items; fresh components always produce superior baked goods.
Ignoring Oven Calibration
Many bakers neglect to check their oven’s accuracy, which can lead to inconsistent baking results for Easter Chocolate Blossom Cookies. An uncalibrated oven may bake at a temperature that is hotter or cooler than indicated, affecting your cookie’s outcome. Invest in an oven thermometer to ensure precise temperatures while baking. Adjust accordingly if you find discrepancies in temperature readings; this small step can make a significant difference in achieving perfectly baked cookies every time.
Neglecting Cookie Spacing
Proper spacing between cookies on the baking sheet is vital for even baking and preventing them from merging into one another during cooking. When placing your scooped dough onto the sheet, leave at least two inches between each mound of dough. This gives them room to spread evenly without crowding or losing their shape as they bake. Ensuring adequate space helps maintain their distinct appearance and guarantees even heat distribution throughout each cookie.
Forgetting Toppings
Easter Chocolate Blossom Cookies are known for their delightful chocolate kisses placed on top after baking. A common mistake is forgetting to add these toppings while warm enough for sticking properly. Place kisses gently onto each cookie immediately after removing them from the oven; this allows them to melt slightly and adhere well as they cool down. Missing this key step means losing out on that classic presentation and flavor combination that makes these cookies special.
Not Preheating Your Oven
Failing to preheat your oven before baking is a mistake many novice bakers make when preparing Easter Chocolate Blossom Cookies. An adequately heated oven ensures even cooking right from the start, promoting uniform browning and texture throughout each cookie batch. Always allow at least 10-15 minutes for preheating so that it reaches the desired temperature of 350°F (175°C) before placing your cookies inside. This simple yet crucial step can dramatically improve your baking results.
Serving Suggestions
This Easter Chocolate Blossom Cookies is versatile and pairs wonderfully with a variety of beverages. Enjoy these delightful cookies alongside a glass of cold milk for a classic treat that enhances their chocolatey goodness. The milk’s creaminess complements the rich flavors, making each bite even more enjoyable. Alternatively, serve them with a warm cup of coffee or tea. The warmth of the drink contrasts beautifully with the cookies’ texture, creating a comforting experience perfect for brunch or afternoon tea.
For a festive touch, consider pairing Easter Chocolate Blossom Cookies with an assortment of fresh fruits. Slices of strawberries, raspberries, or citrus fruits add a refreshing balance to the sweetness of the cookies. This combination not only enhances flavor but also provides a colorful presentation on your dessert table. Kids will also love these cookies served with ice cream, transforming them into an indulgent dessert that’s both fun and delicious.
Presenting Easter Chocolate Blossom Cookies as part of a dessert platter is another excellent option. Combine them with other seasonal treats like carrot cake or lemon bars for an eye-catching display. This variety allows guests to sample different flavors while enjoying the signature taste of your chocolate cookies. To elevate the experience, drizzle some melted chocolate over the top before serving, enhancing both visual appeal and taste.
Finally, consider using these cookies as an ingredient in creative desserts. Crumble them over yogurt or layer them in a parfait for added texture and flavor. You can also use them in cookie sandwiches filled with frosting or whipped cream for an extra special delight at your next gathering.
FAQs
What makes Easter Chocolate Blossom Cookies special?
Easter Chocolate Blossom Cookies stand out due to their festive design and rich chocolate flavor. The iconic Hershey’s kiss on top adds a delightful surprise, making them visually appealing and fun for celebrations. Their soft and chewy texture is perfect for satisfying any sweet tooth during the Easter season.
How should I store leftover Easter Chocolate Blossom Cookies?
To maintain freshness, store leftover Easter Chocolate Blossom Cookies in an airtight container at room temperature. This will keep them soft and chewy for up to one week. For longer storage, consider freezing the cookies by placing them in a single layer in a freezer-safe bag. They can last up to three months when frozen.
Can I make Easter Chocolate Blossom Cookies ahead of time?
Yes, you can prepare Easter Chocolate Blossom Cookies ahead of time! Bake them one day before your event to allow flavors to meld together nicely. Once cooled, store them properly in an airtight container until you’re ready to serve. This convenience makes it easier to enjoy quality time with family and friends during festivities.
What variations can I try with this recipe?
There are numerous variations you can explore with Easter Chocolate Blossom Cookies! For instance, you can substitute semi-sweet chocolate chips for white chocolate or even flavored kisses like caramel or peanut butter. Adding nuts or sprinkles can also enhance their texture and visual appeal, allowing you to customize these treats for any occasion.
Easter Chocolate Blossom Cookies
5 Stars 4 Stars 3 Stars 2 Stars 1 Star
No reviews
- Author: Larissa W.
- Total Time: 29 minutes
- Yield: Approximately 24 cookies
Description
Easter Chocolate Blossom Cookies are a delightful treat that embody the spirit of spring celebrations. With their rich chocolate flavor and soft, chewy texture, these cookies are topped with iconic chocolate kisses, offering a sweet surprise in every bite. Perfect for sharing at Easter brunches or family gatherings, these vibrant cookies not only taste great but also create memorable moments in the kitchen. The inviting aroma of freshly baked cookies will fill your home, making them an irresistible addition to your festive festivities. Enjoy a fun and easy baking adventure that everyone will love!
Ingredients
- All-Purpose Flour
- Unsweetened Cocoa Powder
- Baking Soda
- Salt
- Granulated Sugar
- Brown Sugar
- Unsalted Butter
- Eggs
- Vanilla Extract
- Chocolate Kisses
Instructions
- Preheat your oven to 350°F (175°C) and line two baking sheets with parchment paper.
- In a bowl, whisk together flour, cocoa powder, baking soda, and salt. Set aside.
- In a large bowl, cream together softened butter, granulated sugar, brown sugar, and vanilla until fluffy.
- Beat in eggs one at a time until combined.
- Gradually mix in the dry ingredients until just combined into a soft dough.
- Scoop rounded balls of dough onto the prepared baking sheets, spacing them two inches apart.
- Bake for 9 minutes or until puffy but still soft in the center.
- Press a chocolate kiss into each cookie immediately after removing from the oven.
- Let cool before transferring to wire racks.
- Prep Time: 20 minutes
- Cook Time: 9 minutes
- Category: Dessert
- Method: Baking
- Cuisine: American
Nutrition
- Serving Size: 1 cookie (30g)
- Calories: 130
- Sugar: 10g
- Sodium: 50mg
- Fat: 6g
- Saturated Fat: 3g
- Unsaturated Fat: 2g
- Trans Fat: 0g
- Carbohydrates: 19g
- Fiber: 1g
- Protein: 2g
- Cholesterol: 15mg

