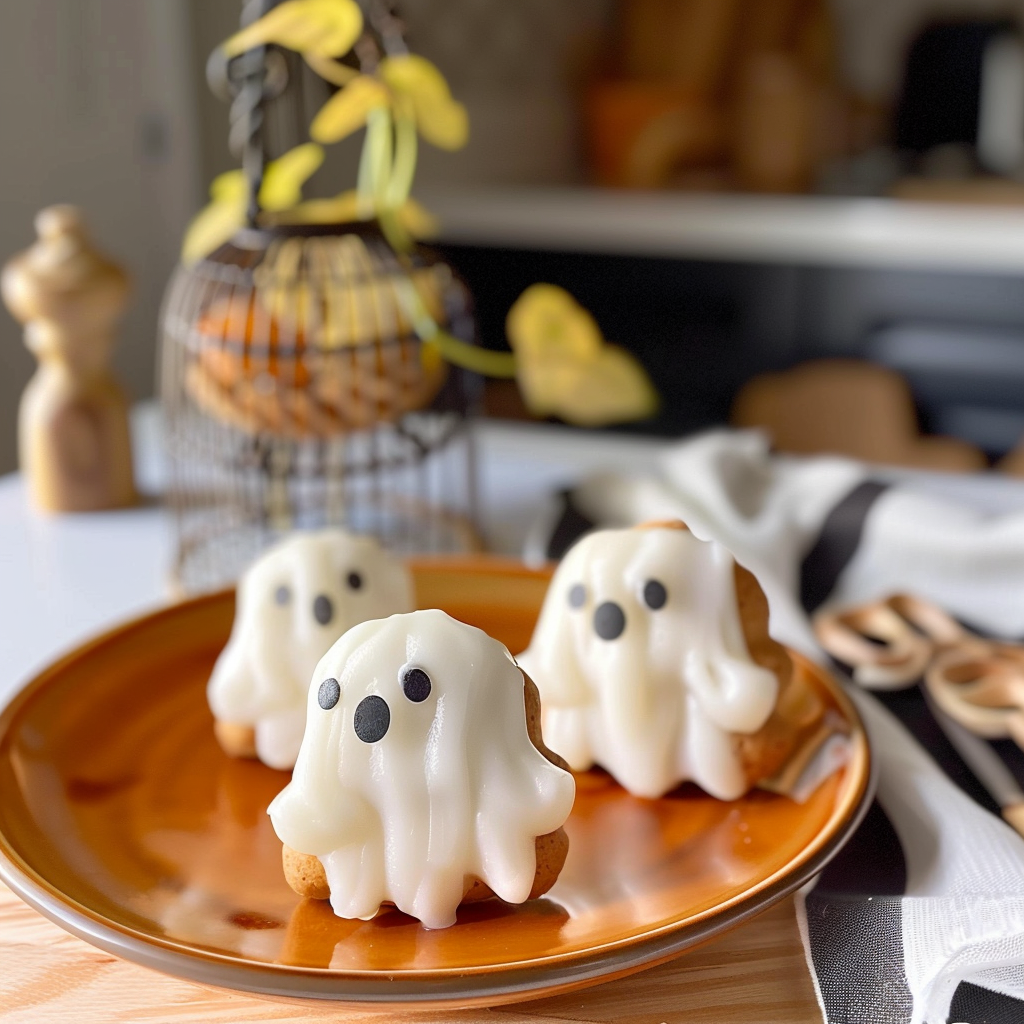
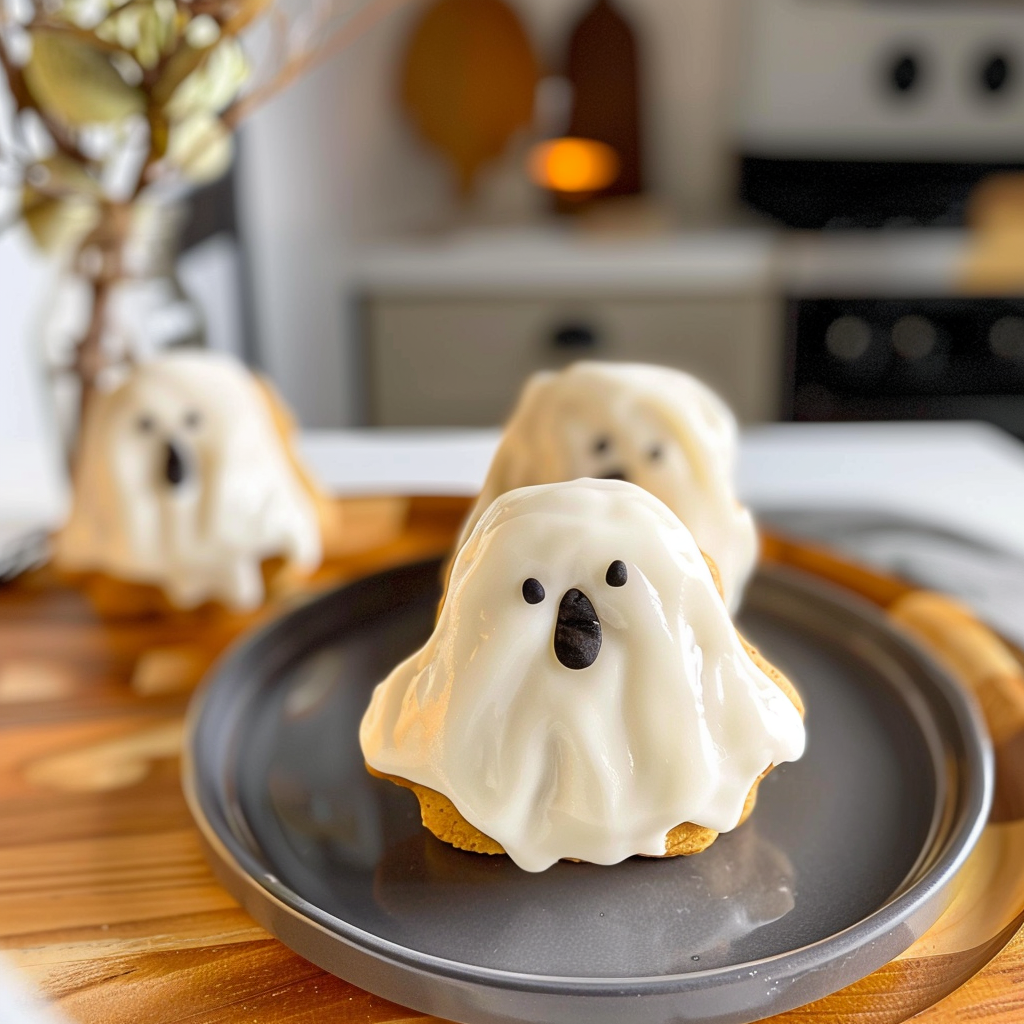
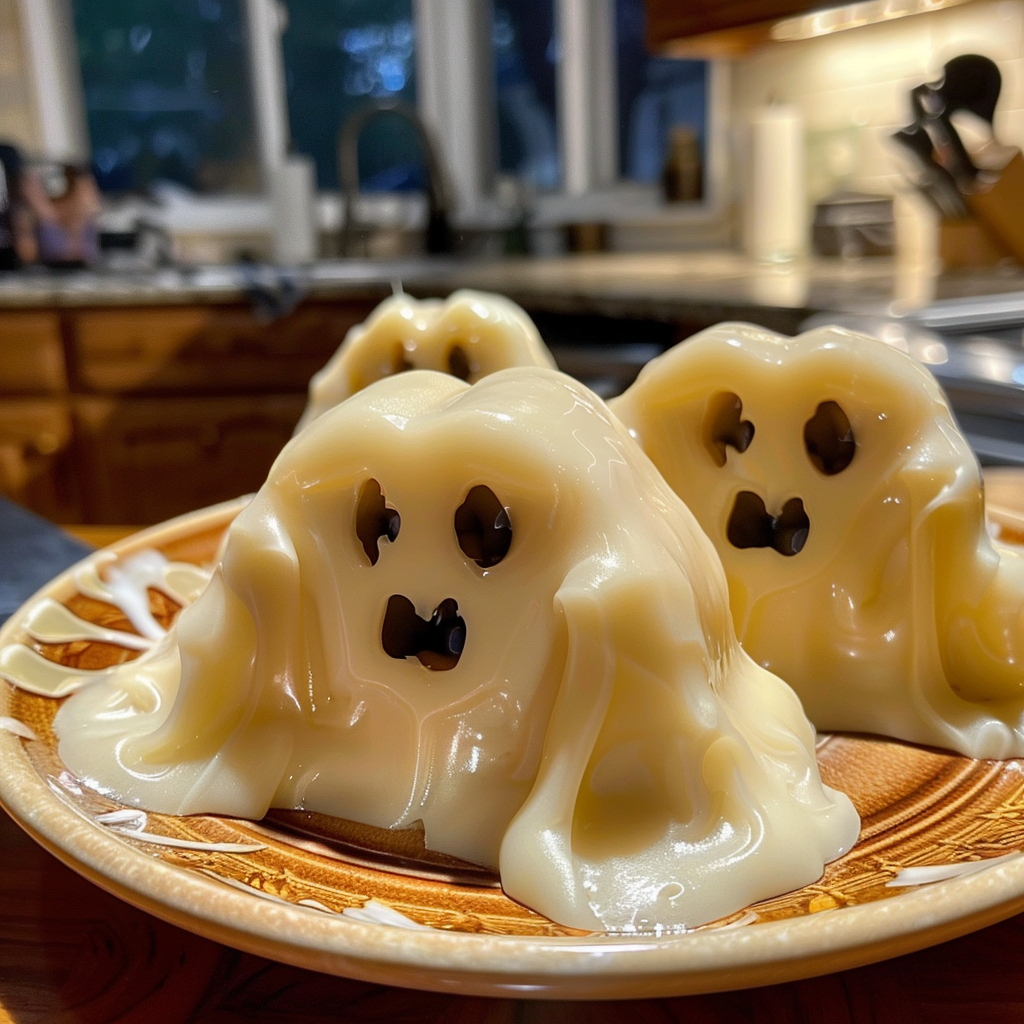
Cute & Creepy Nutter Butter Ghosts are not just a whimsical Halloween treat; they bring an enchanting blend of nostalgia and sweetness to every bite. Imagine digging into a creamy peanut butter filling surrounded by the delightful crunch of a cookie, all while the playful ghostly shapes stare back at you, ready to haunt your taste buds. delicious strawberry pretzel ice cream cake.
These little specters are perfect for your next Halloween gathering or a cozy family night in. They evoke memories of childhood and trick-or-treating, reminding us that even ghosts can be cute and delicious. Get ready for a flavor experience that will leave you smiling and craving more.
Why You'll Love This Recipe
- These Cute & Creepy Nutter Butter Ghosts are effortless to make, making them perfect for last-minute parties
- Their irresistible peanut butter flavor will delight both kids and adults alike
- The fun ghostly appearance adds a festive touch that brightens up any gathering
- Enjoy them as a spooky dessert or a fun snack throughout October!
I remember the first time I made these adorable little ghosts with my niece; her excitement lit up the kitchen like a Halloween jack-o’-lantern. savory crockpot meatballs with grape jelly savory coconut milk braised chicken.
Essential Ingredients
Here’s what you’ll need to make this delicious dish:
-
Nutter Butter Cookies: These iconic cookies serve as the base, providing the perfect crunch and flavor combination with peanut butter. gluten-free almond flour cookies.
-
White Chocolate Melts: Use high-quality melts to ensure smooth coating; they add sweetness and help create that ghostly look.
-
Black Food Coloring Gel: This is essential for creating those spooky eyes; gel is best for achieving striking colors without altering texture.
-
Candy Eyes: Opt for edible candy eyes to complete the ghostly appearance—these little guys bring your creations to life.
The full ingredients list, including measurements, is provided in the recipe card directly below.
Let’s Make it Together
Get ready to whip up some ghostly treats that’ll make you the hit of any Halloween party!
Prepare Your Workstation: Start by gathering all your ingredients and tools: a microwave-safe bowl, baking sheets lined with parchment paper, and a spatula for easy mixing.
Melt the White Chocolate: In a microwave-safe bowl, melt the white chocolate melts in 30-second intervals until smooth. Stir between intervals to avoid scorching.
Coat the Cookies: Dip each Nutter Butter cookie into melted white chocolate, ensuring it’s fully covered. Lift it out gently using a fork to let excess chocolate drip off. For more inspiration, check out this lemon lavender cookies recipe.
Set on Parchment Paper: Place each coated cookie on your prepared parchment paper. Allow them to cool slightly before decorating.
Add Ghostly Features: While the chocolate is still tacky, attach candy eyes onto each cookie. For extra flair, mix black food coloring gel with some melted chocolate and pipe small mouth shapes.
Let Them Set: Allow your Cute & Creepy Nutter Butter Ghosts to set completely until the chocolate hardens. This usually takes about 30 minutes at room temperature. For more inspiration, check out this lemon cheesecake squares recipe.
Now you’re ready to enjoy these delightful little ghouls! Serve them at parties or keep them all for yourself—no judgment here!
You Must Know
- Cute & Creepy Nutter Butter Ghosts are not just adorable; they bring spooky fun to any gathering
- Their delightful crunch combined with creamy filling creates a perfect treat that’s sure to be a hit at Halloween parties
- Every bite is a blend of laughter and deliciousness!
Perfecting the Cooking Process
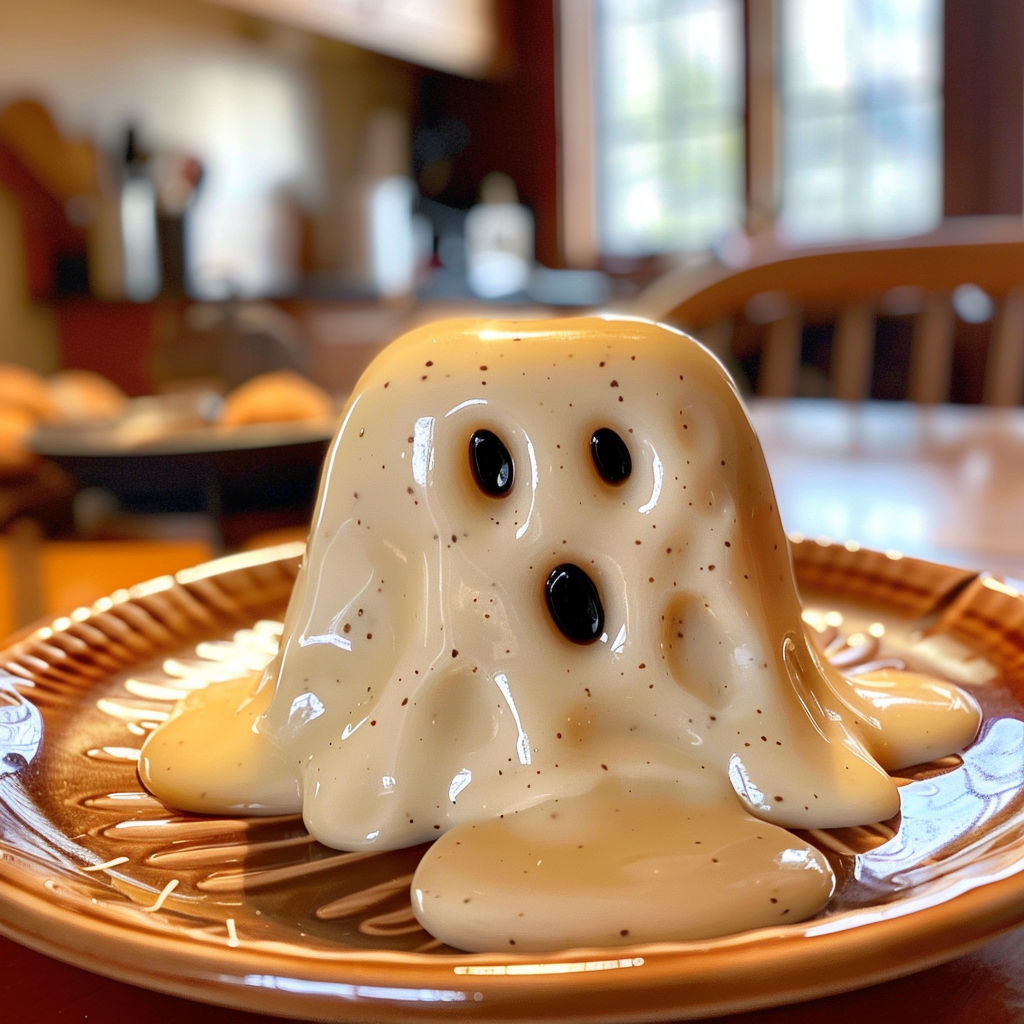
To make these ghostly delights, first prepare your melted white chocolate. Then dip each Nutter Butter cookie into the chocolate, allowing excess to drip off before placing them on parchment paper to set.
Add Your Touch
Feel free to personalize your Cute & Creepy Nutter Butter Ghosts by adding colored sprinkles or edible glitter for an extra festive flair. You can also use dark chocolate for a different flavor twist!
Storing & Reheating
Store your Nutter Butter Ghosts in an airtight container at room temperature for up to five days. Avoid refrigeration, as it may cause the chocolate coating to lose its shine.
Chef's Helpful Tips
- For the best results, ensure your white chocolate is smooth and completely melted before dipping
- A double boiler works wonders here!
- Be careful not to overheat it, or it can seize up
- Use a spoon to help coat all sides of the cookies evenly
Creating these Cute & Creepy Nutter Butter Ghosts always brings a smile, especially when my kids giggle at their spooky shapes during Halloween gatherings.
FAQ
What can I substitute for white chocolate?
You can use almond bark or yogurt coating as alternatives for white chocolate.
How do I prevent the chocolate from hardening too quickly?
Keep the melted chocolate warm while working to avoid premature hardening.
Can I freeze these Cute & Creepy Nutter Butter Ghosts?
Yes, but it’s best to freeze them without the chocolate coating for optimal texture.
Cute & Creepy Nutter Butter Ghosts
5 Stars 4 Stars 3 Stars 2 Stars 1 Star
No reviews
- Author: Hellen
- Total Time: 15 minutes
- Yield: Approximately 24 servings (one ghost per serving) 1x
Description
Delight your guests with these adorable and spooky Cute & Creepy Nutter Butter Ghosts! Perfect for Halloween, these treats feature crunchy Nutter Butter cookies coated in creamy white chocolate, bringing together childhood nostalgia and festive fun. With candy eyes peering out from their ghostly shapes, they’re sure to haunt your taste buds and bring smiles all around. Easy to make, these ghoulish delights are both a hit at parties and a sweet indulgence for cozy family nights in.
Ingredients
- 1 package Nutter Butter cookies (approximately 24 cookies)
- 12 oz white chocolate melts
- 1 tsp black food coloring gel
- 24 edible candy eyes
Instructions
- Gather all ingredients and tools: a microwave-safe bowl, parchment-lined baking sheets, and a spatula.
- In the microwave, melt white chocolate melts in 30-second intervals until completely smooth, stirring between intervals.
- Dip each Nutter Butter cookie into the melted white chocolate, ensuring complete coverage. Lift each cookie with a fork to let excess drip off.
- Place coated cookies on parchment paper. While still tacky, attach candy eyes to each cookie and pipe small mouth shapes using the black food coloring gel.
- Allow the ghosts to set at room temperature for about 30 minutes until the chocolate hardens.
- Prep Time: 15 minutes
- Cook Time: 0 minutes
- Category: Dessert
- Method: No-cook
- Cuisine: American
Nutrition
- Serving Size: 1 serving
- Calories: 130
- Sugar: 10g
- Sodium: 40mg
- Fat: 6g
- Saturated Fat: 3g
- Unsaturated Fat: 2g
- Trans Fat: 0g
- Carbohydrates: 18g
- Fiber: <1g
- Protein: 1g
- Cholesterol: 0mg

